XU9J4 and XU10J4
CYLINDER HEADS
IDENTIFICATION
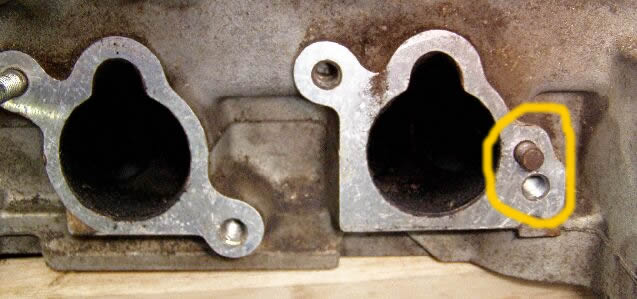
The chambers, valves, springs, retainers, collets etc. are identical, however there are four important differences between the XU9J4 and XU10J4 heads. Firstly, on the side of the XU10J4 head there is an oil return drain hole for the cam sensor/vacuum pump. There is no equivalent hole on the XU9J4 head.
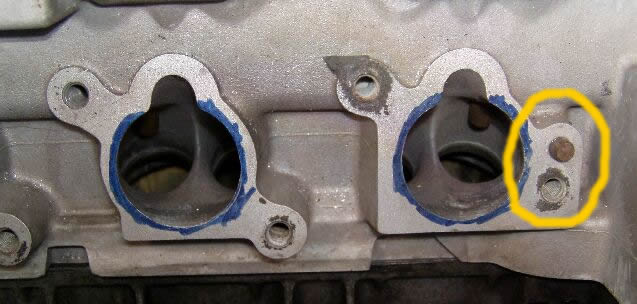
Secondly, whilst the exhaust ports are identical, there are nine studs on the XU9J4 and ten studs on the XU10J4.
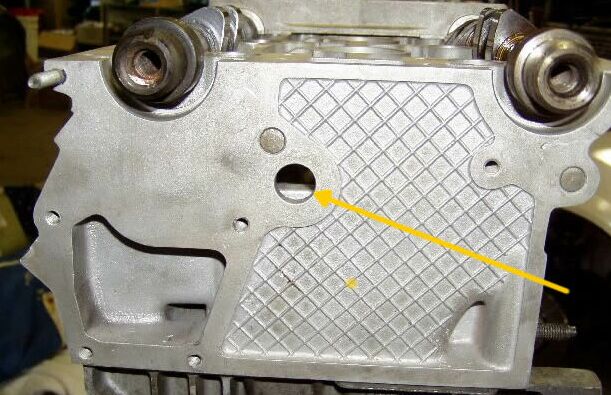
Thirdly, the location of the inlet manifold dowells are different.
RECONDITIONING
VALVE GUIDES
The most important step in the reconditioning process is having good valve guides. The guides in these heads generally wear very well, but after 200 000Km they're really past their prime. You can't proceed to the seat cutting process unless the guides are within specification. The freshly cut seat will never be concentric with the guide.
Worn guides can be repaired with K-Line inserts. These are relatively cheap and restore the guide to it's original condition. However, whilst these inserts are fine on the inlet side, their use should be considered carefully on the exhaust side. They're definitely not suitable on turbo heads and or full race heads. Full new guides are a safer alternative. For street engines, I'd happily fit K-Lines.
VALVES AND SEATS
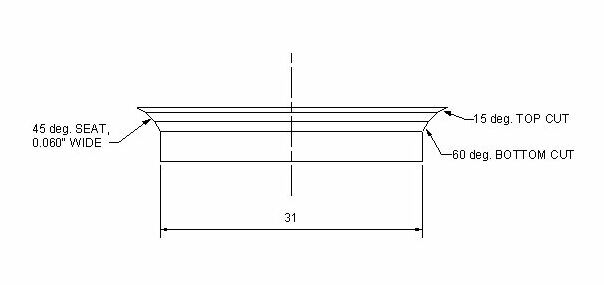
Once you've established the guides are in good condition, this is the next crtical area to get right! The factory Peugeot workshop manual specifies a 3 angle seat for these heads. However, correctly cut three angle factory seats are rare. There usually isn't enough metal (internal diameter) in the seat to have a full 60 degree bottom cut. The bottom of the seat usually drops straight into the bowl, or there the 60 deg. bottom cut so small you need an eye glass to see it! The factory specification is below, finishing up with a 31mm internal diameter. There is usually always a step under the seat, where the internal diameter of the seat doesn't match the casting. Depending on the amount of core shift during casting, you'll find some heads worse than others. The only way to repair this step or ridge, is to fit bigger valves. If the amount of core shift is bad enough, sometimes not even larger valves will fix the problem. Then you'll need to build up the port by either welding or using an epoxy. Unless you're building a race engine don't worry about the ridge. The head flows well enough as is.
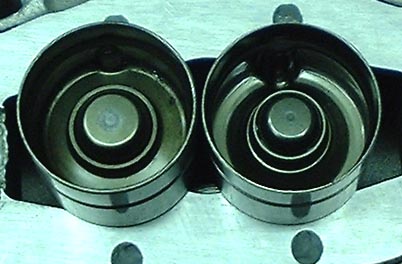
RECONDITIONING HYDRAULIC LIFTERS
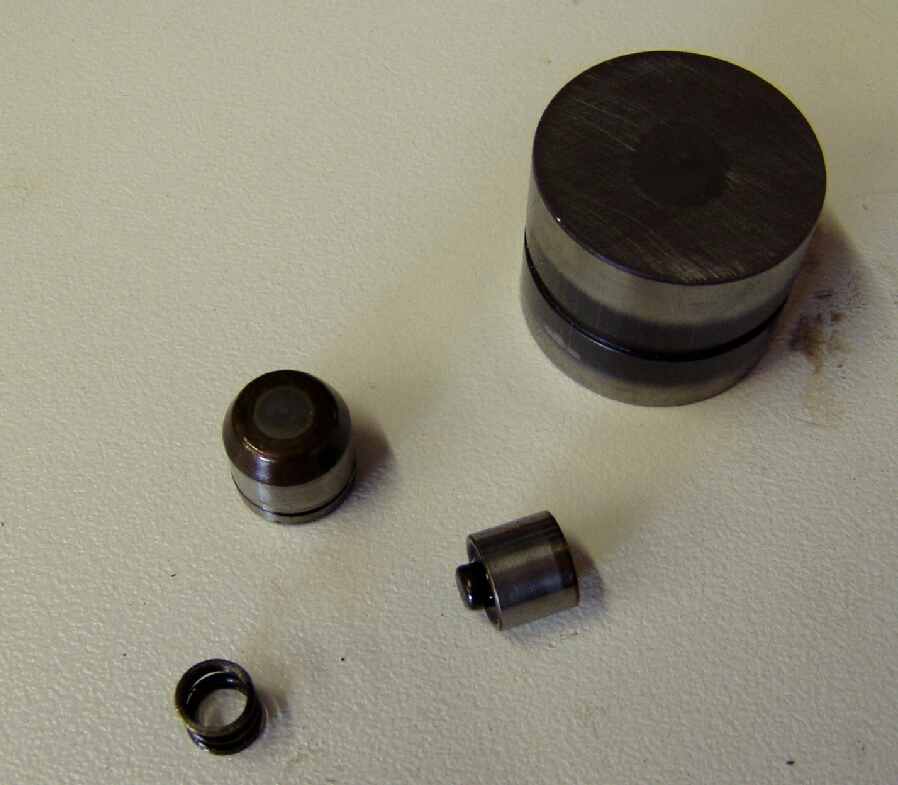
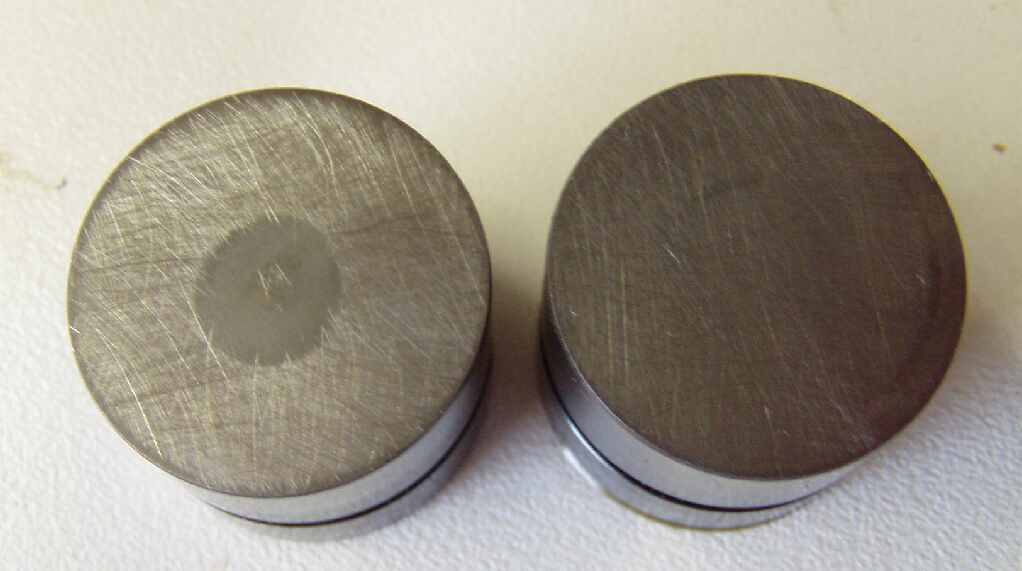
Provided these engines are serviced regularly, with regular oil changes, the lifters in these engines are generally reserviceable even after 200 000 Km of use. Given that a new set of genuine lifters are close to AUS$1000, they're well worth looking after. I don't recommend after market lifters. Look for a good 2nd hand set and give them a makeover. Below is a picture of a genuine (left) and non-genuine lifter (right). The non-genuine lifter was removed after just 5000Kms. First thing you'll notice is the smaller diameter of the piston. What you can't see without an eye glass, is the small cracks in the top of the piston. The metallurgy of these lifters is nothing short of disgraceful. Perhaps this is an isloated case? I'm not sure, but I certainly would never purchase them.
Lifters suffer from two things. Wear on the bucket top from poor lubrication and wear inside the piston/bore from the same. They also get full of oil residue/varnish. Disassembling them and giving them a recondition will more often than not, restore them to almost as new condition.
Using worn lifters on a new cam, or vice versa, will result in premature failure.
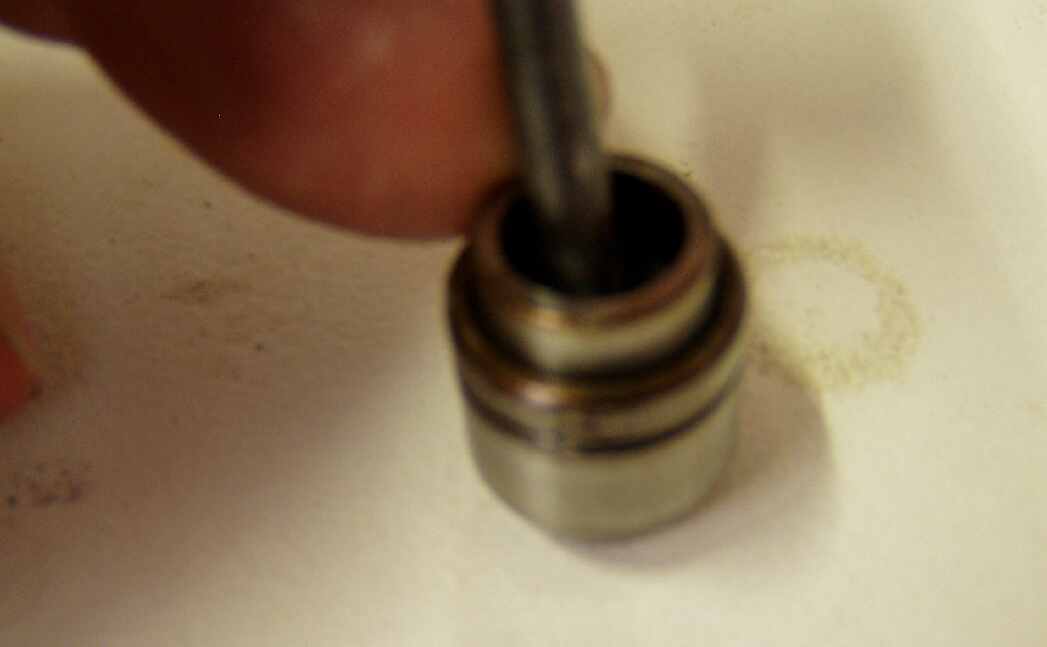
Step 1 - Disassembly
cup the lifter in your hand and whack it repeatedly on a piece of wood until the piston assembly comes out. The ease of which they come out is proportional to how much they're gunked up inside!
Step 2 - Cleaning
you should have four components - bucket, piston/relief valve, spring and piston body. Soak these in a strong degreaser for 24 hrs, agitating every few hours. I use the Kenco stuff below. Note the amount of alkaline - 36g/L. The stronger the better. Wash in warm water, then spray immediately with WD40 etc. to stop rusting. The parts should look like new.

Step 3 - Dressing
The top of the bucket needs to be dressed. I use an old cam grinding wheel, but #60 wet & dry paper on a flat surface (eg glass) will be fine. Rub in a figure 8 pattern, rotating the bucket 90 deg. every few rubs. It should take 2-3 mins. to completely clean up. Note the two attached buckets have not cleaned up in the time allowed - a dish in the centre and some marks near the outside. They're trash. After dressing, wash again.
Step 4 - Assembly
Place the spring in the piston body and add a few drops of oil. Insert the piston/relief valve. Use something sharp to depress the check valve, allowing air to escape. Add more oil if necessary. Correctly assembled, there should be less than 1mm of preload. I find it almost impossible to get all the air out.
Turn the bucket upside down and squirt in some oil. Push the piston assembly in. If you've put enough oil in, oil will squirt out the side. Judging the amount of oil to put in is difficult, but you'll get it right after a few times.
That's it!
Getting the amount the air out is important, as it minimises the pump up time after starting.